Taking on air conditioning installation for a Skokie, Illinois home is a complex project that blends building science, mechanical know-how, and local code compliance. Even if you plan to hire a professional, understanding the process helps you ask better questions, choose better options, and recognize quality workmanship. This guide walks through each phase—from planning and sizing to commissioning and maintenance—so you can navigate the project with confidence. To see how a well-executed project comes together in practice, explore professional air conditioning installation resources that demonstrate the standards top installers follow.
The steps below focus on split systems but apply broadly to many configurations. As you read, keep your home’s layout in mind: basement access, attic insulation depth, return air pathways, and outdoor clearances all shape your final design and the day-of workflow.
Step 1: Define Your Goals and Constraints
Start with what matters most to you. Is your priority summer humidity control, whisper-quiet operation, lower energy use, or precise temperature stability across multiple floors? Clarifying goals helps narrow equipment choices and duct modifications. Constraints include available electrical service, existing duct capacity, lot lines for outdoor clearances, and budget for optional upgrades like zoning or improved filtration.
Take measurements and photos of mechanical spaces, duct trunks, and outdoor areas. Note window exposure and rooms that feel stuffy or drafty. These observations inform load calculations and supply register tuning later in the process.
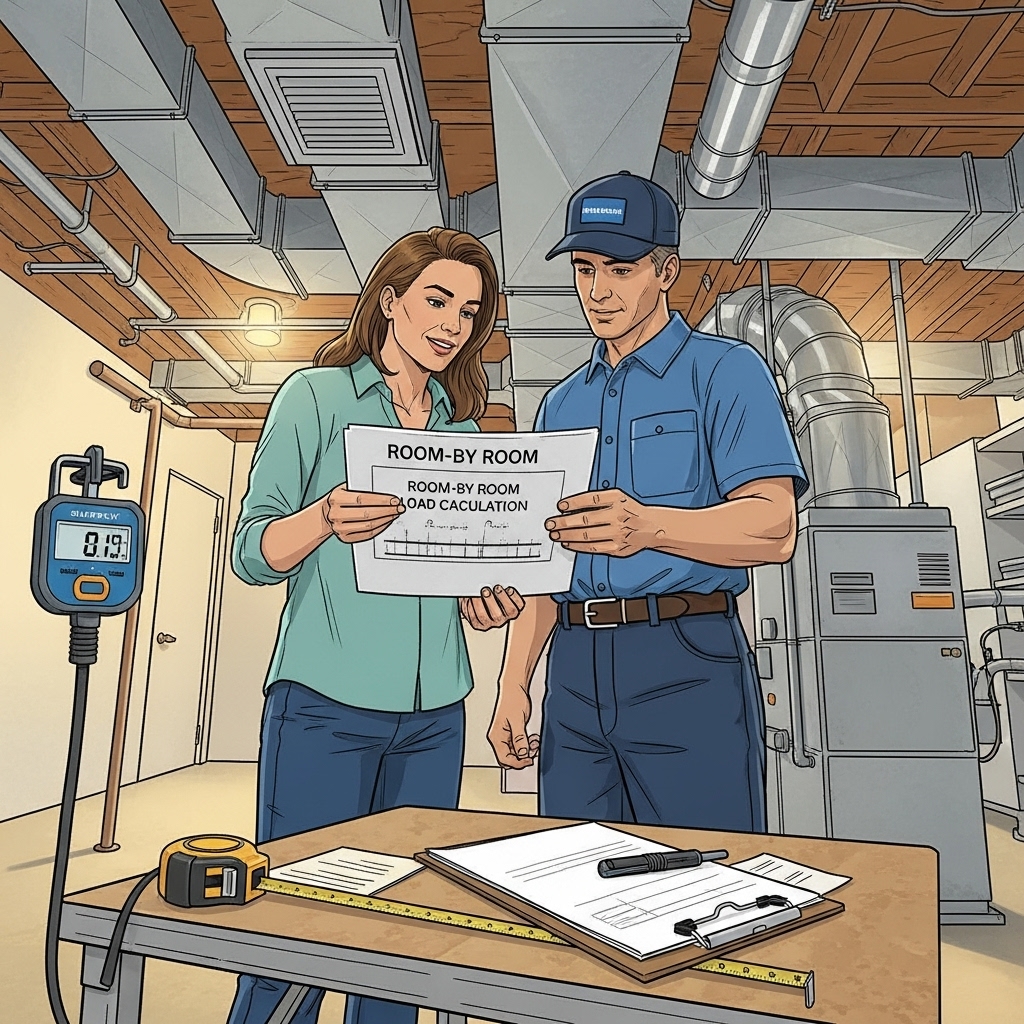
Step 2: Perform a Load Calculation
Skip rules of thumb and insist on a room-by-room load calculation. This analysis accounts for insulation, air leakage, glazing, orientation, and internal gains. With Skokie’s humid summers, latent load (moisture removal) matters as much as sensible load (temperature drop). The result guides equipment capacity, coil selection, and airflow targets.
Accurate loads also prevent short cycling, noisy operation, and humidity problems. If you have a finished attic or large south-facing windows, expect the calculation to recommend zoning or supply balancing to handle those higher-gain spaces.
Step 3: Evaluate Ductwork and Airflow
Good airflow is non-negotiable. Inspect trunk sizes, branch runs, and return pathways. Measure static pressure where possible to gauge restriction. Undersized returns, kinks, and sharp elbows are common culprits. Plan to seal joints with mastic, add insulation to ducts in unconditioned spaces, and open up restrictive grilles where needed.
Airflow targets are usually expressed in CFM per ton, adjusted for dehumidification goals and filtration choices. A variable-speed blower can hit targets with fewer noise penalties, especially when ducts are improved simultaneously with equipment replacement.
Step 4: Choose Equipment and Controls
With loads and airflow targets in hand, select a matched system. Options include single-stage, two-stage, and variable-speed compressors; each brings different comfort profiles and sound levels. For homes with hot second floors or widely varying loads, variable-speed systems excel at part-load efficiency and humidity control.
Controls matter. A well-chosen thermostat or controller must coordinate staging, blower ramping, and dehumidification without fighting your goals. Confirm compatibility between the air handler or furnace, the coil, and the thermostat. Decide on filtration—media cabinets, high-MERV filters, or dedicated air cleaners—balancing resistance and performance.
Step 5: Prepare the Site
Before installation day, clear a workspace around the furnace or air handler and ensure a firm, level outdoor pad location with proper drainage. Verify electrical capacity and breaker availability. If the system needs a new line set route, plan a clean pathway with minimal bends and protected penetrations. Protect finished surfaces and consider temporary covers for supply registers to minimize dust during any duct modifications.
Arrange for permit applications and schedule inspections as required. Coordinating these steps avoids delays and ensures code compliance from the start.
Step 6: Remove Existing Equipment
Proper removal begins with safely recovering refrigerant and disconnecting electrical and condensate lines. Old equipment is extracted without damaging ducts or the furnace cabinet. If you are reusing the furnace, take this opportunity to clean blower compartments and evaluate the condition of the heat exchanger, motor, and control board.
At this stage, review duct transitions and clearances one last time. Once the new coil and plenum are set, adjustments are more difficult, so finalizing the layout now pays off later.
Step 7: Set New Components and Connect
The indoor coil must be level and properly trapped for condensate drainage. Transitions should be smooth, with long-radius turns to reduce turbulence. The outdoor unit is placed on a stable pad with clearances per manufacturer guidance. Line sets are brazed with nitrogen flow to prevent oxidation inside tubing, then pressure-tested before evacuation.
Electrical connections include a code-compliant disconnect at the condenser and dedicated circuit protection at the panel. Low-voltage wiring is neatly routed and labeled for ease of service. Condensate safety, such as a float switch and emergency pan, provides peace of mind against overflows.
Step 8: Evacuate, Charge, and Commission
After passing a pressure test, the system is evacuated with a micron gauge to a deep vacuum. Only then is refrigerant charge weighed in to manufacturer specifications. Final charge is tuned under operating conditions using superheat and subcooling to verify proper metering and heat transfer. Airflow is measured and adjusted to meet targets, balancing comfort and dehumidification.
Commissioning also includes thermostat configuration, verification of staging, blower ramp profiles, and safety controls. Documenting start-up readings creates a baseline for future service and proves the system is set up for long-term performance.
Step 9: Balance Air and Fine-Tune Comfort
Room-by-room balancing ensures each space receives the airflow it needs. Slightly closing or opening dampers, adjusting grille vanes, and verifying return paths can eliminate common hot and cold spots. Multi-story homes often benefit from strategic adjustments that favor upper levels on the hottest days.
With variable-speed equipment, small changes to fan profiles can improve humidity control without sacrificing temperature stability. Communicate your comfort preferences so the installer can tailor settings to your daily routine.
Step 10: Educate, Maintain, and Monitor
Before the crew leaves, ask for a walkthrough. Learn the filter change schedule, how to clean the outdoor coil safely, and what sounds or smells warrant a service call. Register warranties and keep documentation accessible. Plan spring and fall checkups to preserve efficiency and catch minor issues early.
Make a habit of inspecting the condensate drain at the beginning of summer. A quick test of the float switch and a gentle cleaning can prevent water damage and downtime during the first heat wave.
Skokie-Specific Tips for Better Results
In Skokie’s humid climate, prioritize latent removal by ensuring airflow targets are not too high for the coil’s design. Consider equipment with enhanced dehumidification modes or a thermostat that can manage blower speed during part-load conditions. Outdoor units should be placed with neighbor-friendly sound levels in mind, and line sets should be protected from winter weather and summer sun.
Older brick homes often hide air leakage paths around rim joists and window frames. Air sealing and insulation upgrades reduce cooling load and improve comfort. During installation, look for opportunities to seal utility penetrations and add insulation to accessible ducts and chases.
Common Mistakes to Avoid
Do not skip the load calculation or duct evaluation. Avoid placing the outdoor unit in a corner without adequate airflow, and do not allow the system to be commissioned without measured superheat, subcooling, and airflow. Resist the temptation to oversize equipment to handle rare heat waves; properly sized systems deliver steadier comfort and healthier humidity control.
Another common error is neglecting return air. Bedrooms with closed doors need a return path, either via dedicated returns or transfer grilles. Without this, the blower struggles, noise increases, and comfort declines.
Mid-Project Decisions and Upgrades
Once the system is open, small upgrades can pay big dividends: a media filter cabinet for low-resistance filtration, a better thermostat with humidity features, or a modest return enlargement to reduce static pressure. If you need help deciding, review case studies that highlight what quality air conditioning installation looks like when airflow, charge, and controls are all verified and documented.
Think long term. Quiet operation, easy filter access, and a clean equipment layout make maintenance simpler and more consistent. That consistency is what keeps comfort high and energy use low season after season.
Frequently Asked Questions
Q: Can I install a central air system myself? A: Portions like pad prep and minor duct sealing are DIY-friendly, but refrigeration, electrical, and commissioning tasks require training, tools, and permits. For safety and performance, most homeowners hire licensed professionals.
Q: How do I know if my ducts are good enough? A: Ask for static pressure measurements, duct sizing verification, and airflow readings at registers. If pressure is high or some rooms are starved, plan improvements before commissioning.
Q: Will a bigger system cool my house faster? A: It might drop temperature quickly but often leaves humidity high and can short cycle, which wastes energy and reduces comfort. Correct sizing is best.
Q: What thermostat settings help in humid weather? A: Use gradual setpoints and, if available, dehumidification modes that slow the blower at part load. Avoid frequent temperature swings, which can increase humidity.
Q: How often should filters be changed? A: Inspect monthly during peak season and replace when dirty. The exact interval varies with filter type, pets, and household activity.
Q: Are permits necessary? A: Local jurisdictions typically require permits and inspections for new installations and replacements. They help ensure electrical safety and code compliance.
Ready to Upgrade Your Comfort
With a clear plan, accurate sizing, and meticulous commissioning, your new system can deliver quiet, consistent comfort through Skokie’s toughest summer days. If you want a partner who treats airflow, charge, and controls with the care they deserve, schedule a consultation and map out the project step by step. For dependable results from start to finish, choose expert air conditioning installation and enjoy a cooler, drier home all season long.


