Introduction
When you understand the maintenance process for your air conditioner, you can care for it confidently and communicate clearly with any technician you hire. Illinois weather—humid summers, stormy springs, and cool nights—adds specific demands on drainage, airflow, and coil cleanliness. This walkthrough breaks the process into logical stages so you can follow along safely, take on what is reasonable for a homeowner, and know when specialized tools and training are required.
The goal is a repeatable sequence that prevents missed steps and reduces rushed decisions during a heat wave. Whether you are preparing for the first warm spell or tuning up mid-season, the same foundations apply: clean air, clear water paths, unobstructed heat exchange, and a performance check at the end. If you want professional support at any point, explore options for comprehensive air conditioning maintenance tailored to Illinois homes.
Stage 1: Power, Safety, and Setup
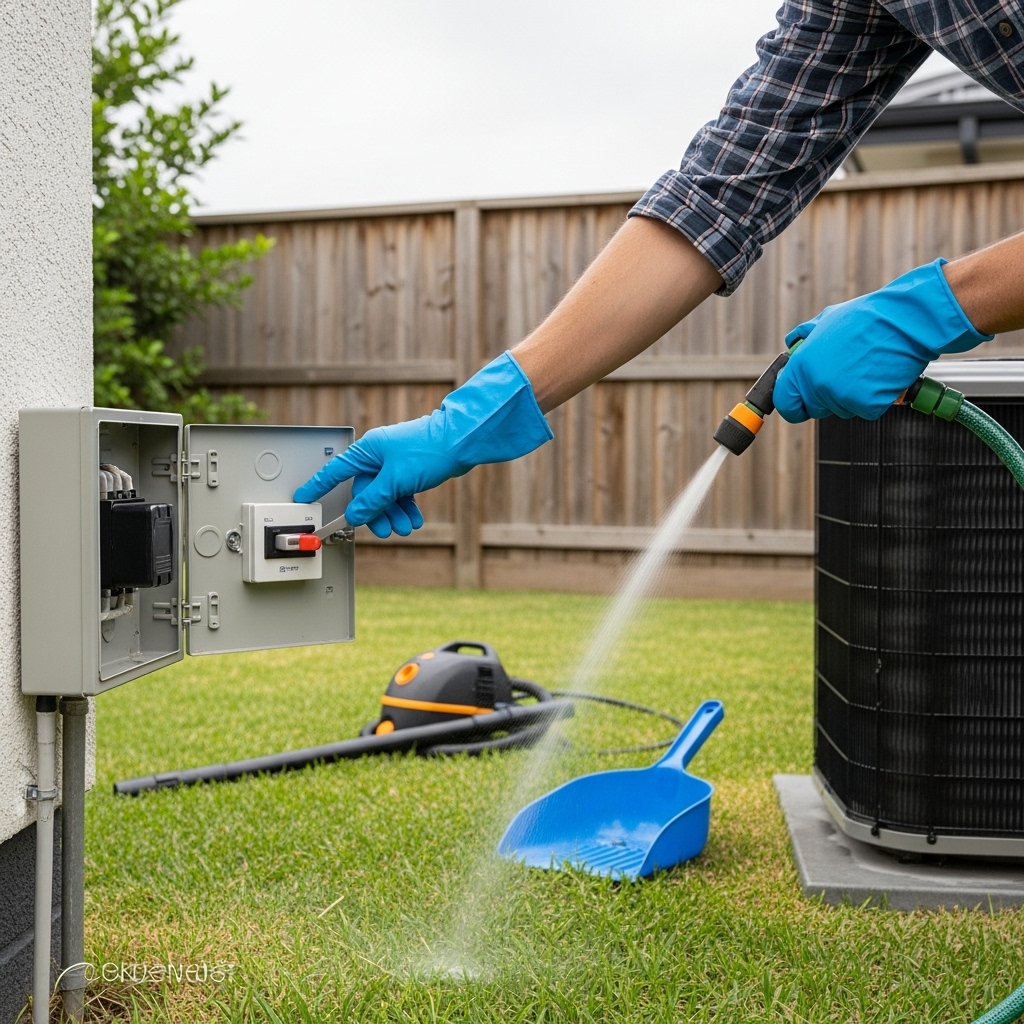
Begin by turning the thermostat to Off and switching off the outdoor disconnect or breaker. Confirm the system is silent. Put on light gloves and eye protection if you plan to rinse coils. Gather your tools: flashlight, soft brush, garden hose with gentle spray, wet/dry vacuum for the condensate line, paper towels, and a thermometer. Having everything ready reduces the temptation to skip steps once you get started.
Walk around the indoor and outdoor units to check for obvious issues—loose panels, damaged insulation, frayed wires in conduit, or signs of water. Take photos of anything unusual for reference. If you find burned wiring, heavy corrosion, or water pooling where it shouldn’t be, stop and schedule service rather than pushing forward.
Stage 2: Airflow and Filtration
Airflow is the backbone of system health. Replace the filter first so everything you check afterward reflects clean air moving through the equipment. Ensure the filter fits snugly and that the airflow arrow points toward the blower. Write down the date and size for future reference.
Walk room to room and confirm that supply and return grilles are clear. Vacuum visible dust and adjust furnishings to avoid blocking vents. Doors closed during cooling cycles can trap air and unbalance rooms, so verify return paths for rooms without dedicated return grilles. Improving these basics prevents a long list of symptoms, from coil icing to noisy ducts.
Inspect the blower compartment if safely accessible. Dust-layered blower fins act like a dirty filter, cutting airflow and increasing energy use. While deep cleaning often requires disassembly, a visual check helps you decide whether a professional cleaning is due this season.
Stage 3: Outdoor Heat Exchange
The outdoor unit rejects heat absorbed indoors. In Illinois, cottonwood fluff, grass clippings, and dust are frequent offenders that pack coil fins and choke performance. Clear vegetation within a wide perimeter around the unit. Scoop out debris from the base pan and ensure weep holes are open so rainwater drains instead of stagnating.
Rinse the condenser coil gently. Aim water straight through the fins to push out dirt rather than mashing it deeper. Do not use high pressure. If you can remove the top grille safely without straining the fan wires, a rinse from the inside out is particularly effective. Let the unit drip dry while you continue other tasks.
Check the fan blades for cracks and the motor housing for signs of oil leakage. Confirm the unit is level on its pad. Freeze-thaw cycles can tilt equipment over the years; a significant lean can stress bearings and refrigerant circuits. Note any concerns that warrant a professional visit.
Stage 4: Condensate Management
Cooling removes moisture from indoor air, and that water must flow freely out of the home. Find the condensate drain near the indoor coil. Check the pan for standing water or algae. Use a wet/dry vacuum at the outside termination to clear the line, then pour a small amount of warm water into the drain port to confirm flow. Addressing drainage now prevents overflow and float-switch shutdowns during the muggiest days.
Evaluate nearby building materials. If the air handler sits in an attic or closet above finished spaces, confirm that safety measures, such as secondary pans or switches, are in place and functional. Preventing water damage is central to maintenance because even a small overflow can stain ceilings or damage flooring.
Stage 5: Refrigerant Line and Insulation Checks
Look at the larger insulated refrigerant line outdoors. Replace cracked or missing insulation to keep heat out and condensation off. This simple step supports correct temperatures and reduces wasted energy. Confirm that line sets are fastened securely and not rubbing against surfaces that could cause vibration noise.
While only a professional should measure charge or open the refrigerant circuit, as a homeowner you can note signs of trouble: icing on lines, loud buzzing from the compressor, or frequent short cycling. If any appear, shut the system down and schedule service rather than attempting repeated starts.
Stage 6: Electrical and Control Review
Without opening high-voltage compartments, you can still do a meaningful review. Confirm that conduit is intact, disconnects are mounted securely, and wiring is not exposed to sharp edges or standing water. Inside, check that the thermostat is level (if applicable) and not in direct sunlight or near a supply register, which can cause false readings and short cycling.
Verify thermostat programming. In humid climates, gradual set point changes paired with Auto fan mode allow better moisture removal than abrupt swings or continuous fan operation. Use this opportunity to replace thermostat batteries if your model uses them.
Stage 7: System Start and Performance Testing
Restore power at the breaker or disconnect and set the thermostat to Cool. Allow the system to run for 10 to 15 minutes. Listen for smooth startup outdoors and even airflow indoors. Walk to the farthest rooms and check for consistent temperature and flow.
Measure a quick temperature split between return and supply air. Record the values and compare them to previous readings. If the difference is much lower than normal, first re-check filters and coil cleanliness. If it is much higher than normal, poor airflow or a metering issue may be at play. In either case, photographs and notes help a technician diagnose efficiently.
Observe condensate dripping outside. A steady trickle during long cooling cycles is expected in humid weather. If the line is silent despite long runtimes, recheck the drain for clogs or kinks. If the pan fills and triggers a safety switch, leave the system off and clear the obstruction before restarting.
Stage 8: Mid-Season Touch-Ups
Illinois summers are dynamic—storms, yard work, and pollen all come in waves. Mid-season, plan a quick outdoor rinse and indoor filter check. Five minutes can recover lost capacity by restoring coil airflow. Verify the drain is still moving water freely and that no musty smells have developed around the air handler.
Use your notes to spot patterns. If certain rooms warm up during late afternoon sun, adjust shades or drapes during those hours. If you keep seeing debris collect on the same side of the condenser, wind patterns or mowing habits might be the culprit. Small behavioral tweaks support mechanical upkeep.
If you decide to reinforce your routine with expert care, look into professional air conditioning maintenance that includes electrical testing, airflow measurement, and refrigerant diagnostics you cannot perform safely on your own. Combining homeowner diligence with periodic expert verification delivers strong long-term results.
Documentation and Maintenance Log
Write down filter change dates, coil rinses, drain cleanings, and any unusual noises or smells you noticed with corresponding weather conditions. A simple log turns maintenance into a learning loop. Over time, you will predict where issues start and prevent them with earlier interventions.
Keep part numbers for filters and any accessories you use. Note the thermostat model and battery type if applicable. When you need service, share your log with the technician to shorten diagnostic time and focus on root causes.
Common Pitfalls to Avoid
Do not use high-pressure washers on coils. They can flatten fins and permanently reduce heat transfer. Do not run the system with the filter removed; the evaporator coil acts like a secondary filter and will clog, leading to icing and poor performance.
Avoid closing too many supply registers to redirect air to hot rooms. This can increase duct static pressure beyond what the blower is designed to handle, causing noise and reduced total airflow. Work on balancing gently and consider professional duct evaluation if hot spots persist.
Do not ignore small water leaks. A little condensate spill today can lead to drywall damage, mold odors, and repeated system shutdowns tomorrow. Address drainage early and keep the line moving freely, especially during July and August.
Frequently Asked Questions
Q: How long should an AC run before I measure temperatures?
A: Allow 10 to 15 minutes of continuous operation to stabilize readings. Measuring too soon can mislead you about system health.
Q: What temperature difference should I expect between return and supply?
A: Expect a meaningful drop at the supply compared to the return, influenced by humidity and system design. Compare to your own baseline rather than chasing a single number.
Q: How often should I rinse the outdoor coil in Illinois?
A: Rinse at the start of the season and again mid-summer, plus after heavy storms or mowing that throws clippings toward the unit.
Q: Why does my system short cycle?
A: Causes range from thermostat placement and airflow restrictions to refrigerant or electrical issues. Start with basics—filter and coil cleanliness—and call a pro if the behavior continues.
Q: Is continuous fan operation good for comfort?
A: In humid weather, continuous fan can re-evaporate moisture and reduce comfort. Auto mode usually provides better dehumidification during cooling cycles.
Q: What should be in my maintenance log?
A: Dates for filter changes, coil rinses, and drain cleanings, plus notes on noises, smells, room hot spots, and any service visits.
Q: When is professional service necessary?
A: If you smell burning, see ice on refrigerant lines, experience repeated breaker trips, or notice persistent performance issues after basic cleaning, schedule service.
Keep Your Process Simple and Consistent
A clear sequence takes stress out of hot-weather upkeep. Replace the filter, clear the drain, rinse the coil, check airflow, and verify performance with a short test. Take notes, review mid-season, and refine your approach based on what you learn about your home and habits. Doing the right steps in the right order prevents most surprises.
If you are ready to reinforce your plan with expert verification, schedule trusted air conditioning maintenance and enjoy a summer of steady, quiet comfort in your Illinois home.


