Introduction: Start Your Cooling Journey
New to central AC? You are not alone. Many Illinois homeowners begin their first cooling project with a blend of excitement and uncertainty. Understanding the beginner steps helps you avoid missteps and keeps your home comfortable through sizzling July afternoons and muggy August nights. Early on, set expectations: a proper air conditioning installation involves planning, permits, careful equipment selection, and detailed commissioning. With a simple roadmap, you can make sound decisions and enjoy a smooth project from start to finish.
Illinois weather swings widely, so your design must do more than just lower the temperature—it should control humidity, distribute air evenly across floors, and operate efficiently. The following beginner steps show what to do, when to do it, and what to ask.
Step 1: List Comfort Priorities
Write down what matters most: quiet operation, fast temperature recovery, better air filtration, fewer hot spots, or smarter scheduling. This list guides conversations with contractors and influences equipment choices such as variable-speed compressors or enhanced filtration.
Step 2: Gather Home Information
Measure square footage, note insulation levels, and identify rooms with high sun exposure. If you have made envelope improvements—air sealing, new windows, or added insulation—add those details. These factors are essential for accurate load calculations.
Step 3: Confirm Permit and Inspection Requirements
Contact your local building department to learn whether you need a mechanical permit and which inspections will occur. Expect checks on electrical work, condensate drainage, and equipment clearances. Permits help ensure safety and consistent performance while providing documentation valuable for future resale.
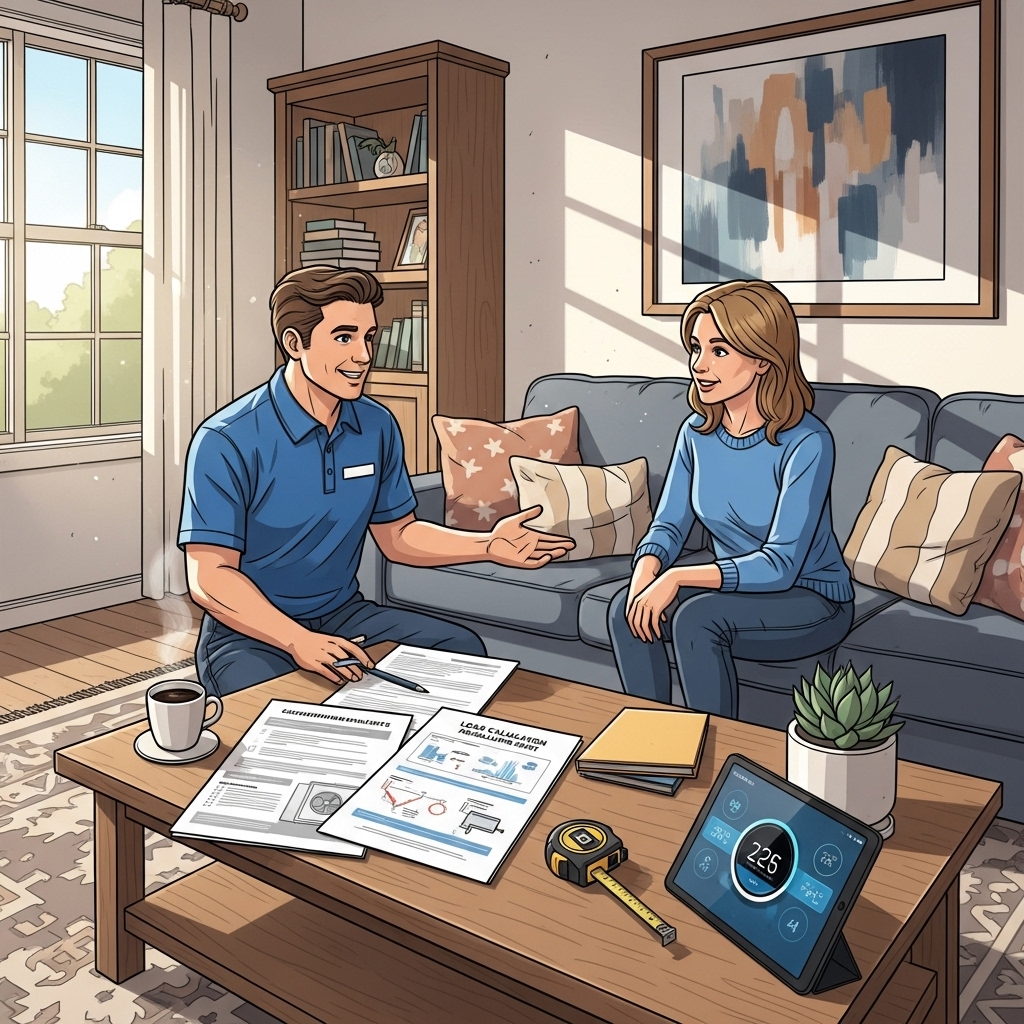
Step 4: Request a Load Calculation
Ask for a Manual J (or equivalent) calculation rather than relying on estimated tonnage. Proper sizing prevents short cycling and poor humidity control. Discuss how duct design and blower settings will support even temperatures across multiple levels.
Step 5: Choose the Right Equipment
Beginner-friendly guidance: you do not need to memorize model numbers. Focus on features that match your goals—two-stage or variable-speed systems for comfort and humidity control; compatible indoor coils; and thermostats that can manage multiple stages. Review sound ratings and maintenance requirements.
Step 6: Inspect Ductwork
Leaky or undersized ducts can sabotage even the best system. Ask for a duct evaluation that checks return air capacity, supply register placement, and leakage. Sealing and insulating ducts in unconditioned spaces can significantly improve comfort and energy use.
Step 7: Plan Electrical and Condensate Details
Verify panel capacity, circuit sizing, and disconnect requirements. Plan a safe, sloped condensate drain with a clear termination point. If a condensate pump is necessary—common in basements—ensure it is accessible for service.
Step 8: Prepare the Home
Clear access routes to equipment, move fragile items, and secure pets. Provide Wi‑Fi information if a smart thermostat will be installed. Have previous service records ready in case the crew needs context for existing issues.
Step 9: Oversee Installation Day
Be available for a brief pre-job review to confirm equipment locations, line-set routing, and any duct changes. After installation, expect commissioning measurements to verify refrigerant charge, airflow, and thermostat configuration.
Step 10: Learn Basic Maintenance
Change filters regularly, keep the outdoor unit free of debris, and check the condensate line at the start of each cooling season. Schedule professional tune-ups to maintain performance and protect warranties.
Common Questions Beginners Ask
Q: How long does the process take? A: Time varies by permit schedules and whether duct modifications are needed. Many projects span several steps over days or weeks, not just a single visit.
Q: What if I have hot and cold spots? A: Discuss return air upgrades, balancing dampers, and zoning. Small changes to ductwork can make a big difference in comfort.
Q: Do I need a smart thermostat to save energy? A: Smart controls are helpful but optional; proper sizing and ductwork quality often have a larger impact.
Q: What should I keep for records? A: Save permits, inspections, model numbers, warranty terms, load calculation results, and commissioning data.
Q: Is DIY installation advisable? A: Due to code requirements, refrigerant handling, and safety concerns, work with qualified professionals for installation and commissioning.
Middle-Mile Tips for a Smooth Project
Once the design is set, stay engaged during the “middle mile” between ordering equipment and the final walkthrough. Confirm inspection dates, take photos of duct improvements for your records, and keep a simple log of questions for the crew. Treat air conditioning installation as a coordinated project with clear checkpoints so nothing gets overlooked during busy summer schedules.
Finish Strong
Before the crew leaves, request a system orientation: filter sizes and locations, thermostat features, and how to recognize alerts or status lights. Ask for the commissioning report and file it with your permits. Program a reminder for the first filter change and schedule your initial maintenance visit.
Next Steps for a Comfortable Home
Starting a cooling project can feel complex, but following the beginner steps above reduces stress and leads to better comfort. When you are ready to put the plan in motion and want experienced guidance from consultation through commissioning, schedule your air conditioning installation with a local Illinois team that understands the climate and code landscape.


