When your AC falters during a hot Skokie afternoon, stress rises quickly. A clear, methodical checklist can turn chaos into control, helping you verify the basics, collect useful information, and communicate effectively with a technician. This actionable guide organizes the most important steps into an easy-to-follow sequence you can use before and during a repair visit. Start by brushing up on the fundamentals of residential air conditioning so each check you run is grounded in how the system should operate.
Step 1: Confirm Thermostat and Modes
Ensure the thermostat is set to cool and below the current indoor temperature. Replace batteries if the display is dim or blank. If you recently changed schedules or switched from heat to cool, confirm the settings took effect. For smart models, verify Wi-Fi connectivity and that any eco or away modes are not suppressing cooling unintentionally.
Step 2: Verify Power
Check the breaker panel for the indoor air handler or furnace and the outdoor condenser. Reset tripped breakers once; repeated trips suggest a deeper fault and call for professional service. Ensure the outdoor disconnect is fully inserted and the indoor service switch is on. Listen for the indoor blower at startup and the outdoor fan when cooling is demanded.
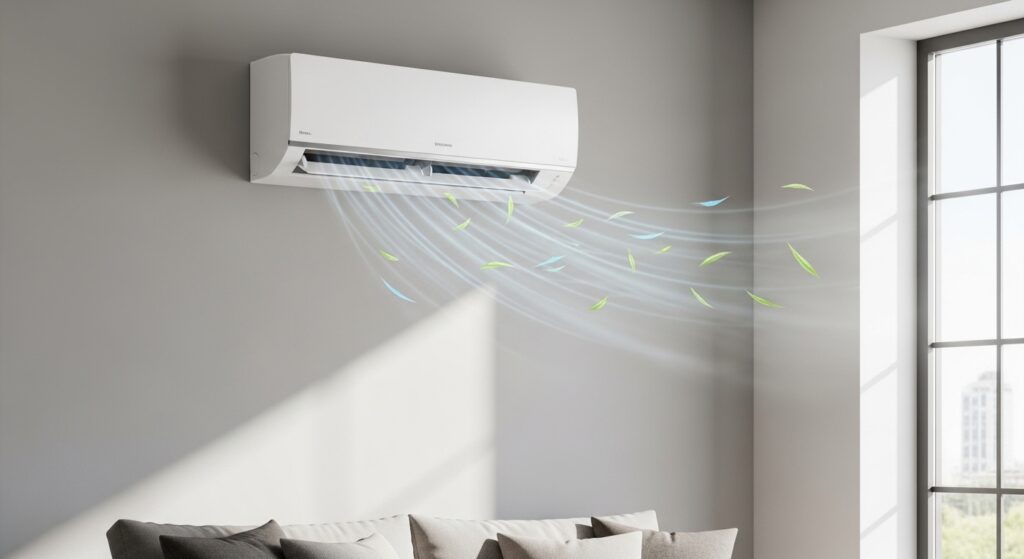
Step 3: Airflow Essentials
Inspect the filter and replace if dirty. Open all supply registers and make sure return grilles are clear of furniture, drapes, or dust buildup. Note any rooms that have consistently weak airflow; this helps the technician focus on possible duct restrictions or sealing issues.
Step 4: Outdoor Unit Inspection
With power off, look for leaves, cottonwood fluff, or grass clippings blocking the coil. Clear debris gently. Check that the unit is level and that there is space around and above for proper airflow. If you hear rattling or see loose panels, note it for the technician.
Step 5: Condensate and Drainage
Water near the indoor unit often means a clogged drain line or a tripped float switch, which can shut the system down to prevent overflow. If accessible, clear minor clogs with a wet-dry vacuum at the exterior drain. Do not bypass safety switches; they protect your home from damage.
Step 6: Coil Condition and Icing
Look for frost on the refrigerant lines or indoor coil panel. Ice points to airflow problems or low refrigerant. Turn the system off and let ice melt before restarting. Share observations with your technician so they can test charge and airflow accurately.
Step 7: Odors and Sounds
Musty odors often stem from stagnant condensate. Electrical smells, grinding, or high-pitched squeals call for immediate shutdown and professional attention. Record when noises occur—startup, mid-cycle, or shutdown—to help isolate causes.
Step 8: Document System Details
Take photos of model and serial numbers, thermostat settings, breaker positions, and any error codes on control boards or smart thermostats. Keep past maintenance records and filter change dates handy. Organized information speeds diagnosis and reduces downtime.
What to Share When You Call
Provide a concise symptom summary: when the problem started, whether the outdoor unit runs, any water leaks, ice, or unusual smells, and what you have already checked. This allows dispatch to allocate the right time and parts for your visit.
On-Site Diagnostic Expectations
A good technician will verify airflow, inspect coils, measure electrical values, and assess refrigerant pressures and temperatures. They should explain findings in clear terms and outline recommended actions. Ask for documented readings such as superheat, subcooling, and temperature split so you have a baseline for future maintenance and can monitor trends over time.
Repair vs. Replace Considerations
Some failures—like a failed capacitor or a clogged drain—are straightforward. Others reveal broader issues such as chronic duct restrictions or an aging compressor. Discuss reliability, parts availability, and performance goals to decide whether repair or system replacement aligns best with your priorities. Skokie’s climate rewards systems that manage humidity effectively and run efficiently during long summer weeks.
Mid-Process Communication
As diagnosis unfolds, you may face choices: adding surge protection, upgrading filtration, or addressing duct leaks discovered during testing. Clarify benefits and long-term implications so today’s fix supports tomorrow’s comfort. If you want deeper context for those choices, review plain-language resources about residential air conditioning to align decisions with your home’s needs.
After the Repair: Verification Steps
Once work is complete, confirm steady cooling at all supplies, listen for smooth blower and outdoor fan operation, and verify proper condensate drainage. Check that thermostat schedules are restored and that any safety switches are reset. Keep the work order and test readings in your home file.
Preventing the Next Breakdown
Maintenance is the quiet hero of reliability. Replace filters on time, keep the outdoor coil clear, and schedule periodic professional inspections. Ensure attic or closet spaces around equipment remain accessible so future service is efficient. Consider documenting the location of dampers and any balancing adjustments made by your technician to preserve room-to-room comfort.
Frequently Asked Questions
Q: My outdoor fan runs, but the air is warm. What should I check? A: Confirm the indoor blower is operating and the filter is clean. If both run and air is still warm, a refrigerant or compressor issue may be present. Schedule service.
Q: Water is dripping near my furnace closet. Is it safe to keep running? A: Turn the system off and address the drain issue first. Running with an overflow can damage finishes and trigger safety switches repeatedly.
Q: The breaker trips every time the system starts. What now? A: Do not keep resetting. Repeated trips indicate a fault. Call a professional to test electrical components, wiring, and compressor health.
Q: How do I reduce hot rooms on the second floor? A: Start with airflow—open registers, clear returns, and discuss duct balancing with a technician. Insulation and air sealing also reduce heat gain.
Q: Should I cover my outdoor unit in winter? A: Use a top cover only to keep debris out, leaving sides open for airflow and to discourage nesting. Never wrap the unit tightly.
Restore Reliable Cooling Today
With a checklist in hand, you can stabilize the situation, gather the right information, and support an efficient repair visit. If your system needs prompt attention or you want a thorough diagnostic backed by clear documentation, reach out to a local team that understands Skokie homes and can elevate your air conditioning performance from the first hot day to the last.


