Introduction
Completing a reliable and efficient air conditioning installation in an Illinois home involves more than placing equipment and turning it on. It requires careful planning for climate extremes, knowledge of local code requirements, and a commissioning process that verifies performance. In this guide, you will learn how to prepare your home, select the right system, coordinate permits, and execute a step-by-step installation that holds up during hot, humid summers and swing seasons. To ground the process in best practices, we will reference field-proven steps that help ensure comfort, efficiency, and durability, starting from your first conversation about air conditioning installation through ongoing maintenance after the unit goes live.
Because Illinois homes range from century-old bungalows to modern tight construction, the best installation is customized to your home’s envelope, duct system, and electrical infrastructure. This walkthrough focuses on fundamentals any homeowner can use to evaluate contractors, understand what to expect, and verify the work meets standards that keep your warranty intact and your energy use in check.
Plan the Project: Load, Layout, and Timeline
The first step is planning. A proper load calculation determines the cooling capacity your home actually needs. Rules of thumb (such as sizing by square footage alone) often lead to oversized systems that short-cycle, leave humidity uncontrolled, and consume unnecessary energy. A Manual J or comparable load calculation considers window orientation, insulation, air leakage, occupancy, and internal gains from appliances and lighting. Ask your installer for a written copy and the assumptions used.
After the load calculation, review equipment placement and duct layout. Discuss with the installer how supply registers will reach hot rooms on the second floor, how return air will be balanced, and whether any existing duct modifications are required. Confirm project timing and coordinate around hot-weather needs, utility work, and any municipal inspections.
Permits, Codes, and Inspections in Illinois
Many Illinois municipalities require permits for new or replacement cooling systems. Permit requirements help ensure safe electrical work, proper refrigerant handling, and compliance with mechanical codes. Your contractor typically obtains the permit, schedules inspections, and posts the permit where required. This protects you by documenting that the installation meets local standards. Ask which code editions apply and what the inspector will check (clearances, electrical disconnect, condensate disposal, and equipment labeling are common items).
In certain communities, additions like concrete pads, condensate discharge locations, or line-set routing through exterior walls may also be reviewed. Clarify whether you need additional approvals (for example, historic districts or HOA guidelines) before work begins.
Choosing the Right Equipment
Illinois experiences humid summers and shoulder seasons when dehumidification still matters even if temperatures are moderate. Consider equipment that offers strong latent (moisture) removal, such as systems with multi-stage or variable-capacity compressors paired with ECM indoor blowers. Check that the equipment’s efficiency ratings meet current federal standards and that the air handler, evaporator coil, and condenser are properly matched. If you are considering a heat pump for additional shoulder-season heating, discuss cold-climate performance and controls that coordinate with any existing furnace.
Ductwork: Design, Sealing, and Balancing
Even the best equipment underperforms with leaky, undersized, or poorly balanced ducts. Have the installer assess static pressure, duct sizing, and register placement. In older homes, duct repairs and sealing with mastic can dramatically improve airflow. Balancing damper adjustments can fine-tune room-to-room temperature differences, especially on upper floors.
- Seal ducts at all joints with mastic or UL-181 approved tape.
- Insulate ducts running through unconditioned spaces to reduce heat gain.
- Provide adequate return air; consider adding returns to closed-off rooms.
- Verify total external static pressure is within manufacturer specifications.
Electrical and Condensate Management
Safe, code-compliant electrical work is essential. Your outdoor unit needs a correctly sized disconnect and breaker, grounded to code. The indoor air handler or furnace control board will power the blower and controls. Low-voltage thermostat wiring should be neat, labeled, and protected from abrasion. If upgrading to a smart thermostat, verify compatibility with your chosen equipment and configure settings for humidity control.
For condensate, ensure a trap where required, proper slope, and an overflow safety switch (often called a float switch) to prevent water damage if the primary drain clogs. Routing to an approved drain or pump is critical; do not allow discharge onto sidewalks where algae growth or ice could occur.
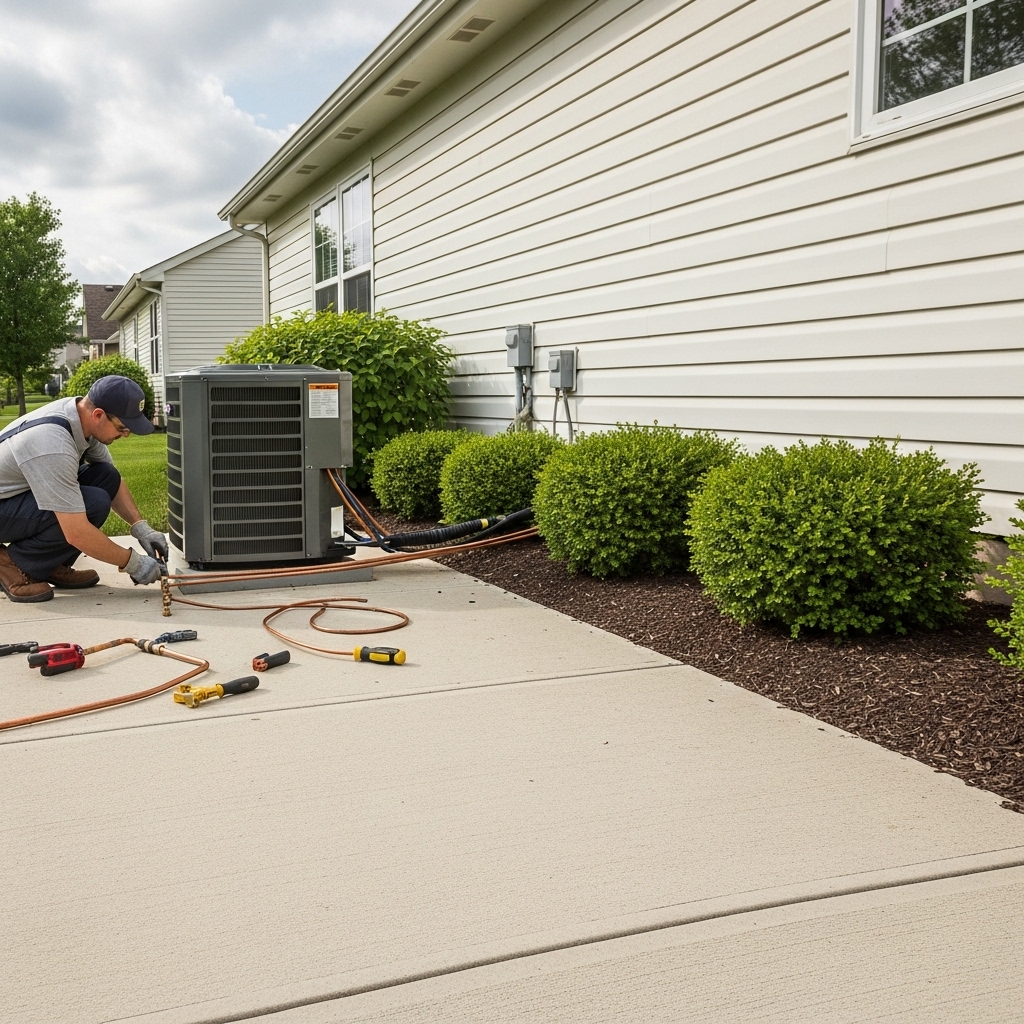
Outdoor Unit Placement and Clearances
Locate the condenser on a level, stable pad with adequate clearance on all sides and above for airflow and service access. Avoid placing the unit directly beneath roof drip lines; use guttering or a deflector to prevent water and ice from falling on the fan motor. Keep shrubs and fencing far enough away for full airflow. In urban lots, confirm noise considerations and property line setbacks with your installer.
In areas with heavy snowfall, a slightly elevated pad can help keep the base clear. Keep the unit out of dryer exhaust paths or lawn irrigation spray that can corrode the cabinet over time. Plan for a tidy line-set route protected in UV-resistant covers.
Step-by-Step Installation Day
- Protect the work area with floor coverings and confirm utility shutoffs as needed.
- Recover refrigerant from any existing system per EPA guidelines; never vent refrigerant.
- Remove old equipment and evaluate duct transitions, plenum, and platform integrity.
- Set the new condenser level on its pad and anchor if required by local code.
- Install the indoor coil and ensure a proper, airtight transition to the plenum.
- Route and braze the refrigerant line set; use nitrogen purge during brazing to prevent oxidation.
- Pressure-test the system with nitrogen, then evacuate with a micron gauge to the manufacturer-recommended level.
- Make electrical connections: high voltage to the disconnect and condenser, low voltage to the control board, and bonding/grounding per code.
- Install and test the condensate drain with a safe overflow cutoff switch.
- Charge the system by weight or superheat/subcooling per manufacturer instructions after confirming airflow.
- Configure the thermostat, set fan profiles, and verify dehumidification settings.
- Perform a full operational test and record startup data for your records.
At the midpoint of the project, it is helpful to pause and review the scope against the original plan. Confirm that duct repairs were completed, that clearances are respected, and that commissioning steps will be performed. This is also a good time to ask any lingering questions about your air conditioning installation so the crew can address details before final cleanup.
Commissioning and Performance Verification
Commissioning goes beyond “it turns on.” Technicians should measure supply and return temperatures, static pressure, blower speed, and refrigerant parameters. They should verify that the thermostat stages are set correctly, the indoor fan ramps appropriately, and that condensate is flowing. A brief homeowner walkthrough should show you filter locations and sizes, shutoff switches, breaker panel labels, and how to adjust thermostat schedules.
Request the commissioning sheet with recorded readings. This document is invaluable if you ever need service and helps confirm the system meets warranty and manufacturer expectations.
Illinois Climate Considerations
Humidity control is as important as temperature during Midwest summers. Multi-stage or variable systems paired with proper airflow can improve latent capacity. In the shoulder seasons, prioritize longer, lower-speed cycles for even comfort and quieter operation. Because winters are cold, ensure your equipment is protected from drifting snow and that any heat pump defrost settings are configured for local weather patterns.
If your home has rooms over a garage or large west-facing windows, discuss targeted strategies such as additional returns, supply adjustments, or, in complex cases, supplemental zoning. The right tweaks during installation can eliminate persistent hot spots.
Maintenance for Long-Term Reliability
Replace or clean filters as specified, typically every one to three months depending on occupancy and pets. Keep the outdoor coil free of debris and vegetation. Schedule professional maintenance before peak summer to clean coils, verify refrigerant charge, and confirm electrical integrity. Maintenance protects efficiency, reduces breakdowns, and preserves the manufacturer’s warranty.
Keep a binder or digital folder with model and serial numbers, manuals, permit documents, and the commissioning sheet. Documenting your system makes future troubleshooting faster and more accurate.
Common Mistakes to Avoid
- Skipping the load calculation and oversizing the system.
- Ignoring duct issues that restrict airflow to key rooms.
- Setting airflow too high, which reduces dehumidification.
- Neglecting the condensate safety switch or trap details.
- Routing the line set without protection from UV or physical damage.
- Failing to verify charge with proper instrumentation.
- Leaving inadequate service clearance around the condenser.
FAQ
Q: Do I need a permit for a new AC in Illinois? A: Many municipalities require one. Your contractor typically obtains it and coordinates inspections, which protect you by ensuring code compliance.
Q: What size AC do I need? A: Only a load calculation can answer this accurately. Square-footage rules of thumb often oversize equipment.
Q: Can I reuse my old line set? A: Sometimes, if it is the correct size, in good condition, and properly flushed. Many installers recommend new line sets to meet manufacturer guidelines.
Q: How long does installation take? A: Most replacements take a day; more complex jobs with duct changes can take two or more, plus inspector scheduling.
Q: What thermostat is best? A: Choose a thermostat compatible with your equipment’s staging and humidity functions, and set it up for gradual, efficient cooling.
Q: How often should I service the system? A: At least annually before peak summer, with filter changes throughout the season.
Q: Why does humidity still feel high? A: Airflow settings, equipment staging, and duct balance influence moisture removal. Commissioning should verify these parameters.
Bring Reliable Cooling to Your Illinois Home
With solid planning, code-aware workmanship, and thorough commissioning, your home will stay comfortable during the hottest weeks of the year. If you want expert guidance from start to finish, schedule a consultation to talk through options and a clear scope for air conditioning installation that fits your home, family, and goals.


