When you approach a new AC project in Illinois, the most important predictor of success is a repeatable process—one that accounts for climate, code, and the practicalities of working in finished homes. The roadmap below outlines a proven sequence from evaluation to commissioning. If you want a deeper dive into methods and best practices before you begin, consider reviewing professional guides on air conditioning installation so you can tailor each step to your home’s needs.
1. Initial Consultation and Assessment
Begin with a whole-home evaluation. Note insulation levels, window performance, attic conditions, and any moisture or comfort complaints. Identify rooms that run hot, measure existing duct sizes, and check the electrical panel for available capacity. Photograph current equipment and note any code issues—missing disconnects, damaged line set insulation, or inadequate clearances.
2. Load Calculation and Design
A Manual J calculation translates your home’s characteristics into the cooling capacity you need. Use those results to design ductwork via Manual D, target airflow per ton, and set a realistic static pressure budget. Decide whether your goals call for single-stage, two-stage, or variable-speed equipment, and select a thermostat that supports those features, including dehumidification control when available.
3. Equipment Selection and Matching
Choose an AHRI-matched condenser, evaporator coil, and air handler or furnace/coil combination. Verify that line set sizes and maximum lengths are compatible with your chosen equipment. Plan a filter cabinet large enough to hold a high-quality filter without excessive pressure drop. If your home has multiple levels or long duct runs, consider zoning, but ensure your design protects equipment from low airflow conditions.
4. Permits and Scheduling
Apply for required mechanical and electrical permits through your municipality. Coordinate inspection milestones with your schedule—some jurisdictions require rough-in inspections for electrical or refrigerant piping before insulation and soffits conceal the work. Keep AHRI match documentation and manuals on site for the inspector.
5. Site Preparation
Set a level condenser pad in a location with the clearances specified by the manufacturer and local code. Confirm that service access will be comfortable for future maintenance. Plan the line set path with minimal bends and adequate protection from damage. Inside, clear space around the air handler or furnace and plan condensate drainage that meets code and protects finishes.
6. Outdoor Unit Placement
Place the condenser, verify level, and anchor per manufacturer directions. Maintain clearance from dryer vents, gas meters, and other equipment. Install a disconnect within line of sight and run the whip to the unit. Ensure the pad elevation accounts for potential snow and water accumulation to protect components and maintain line set slope and support.
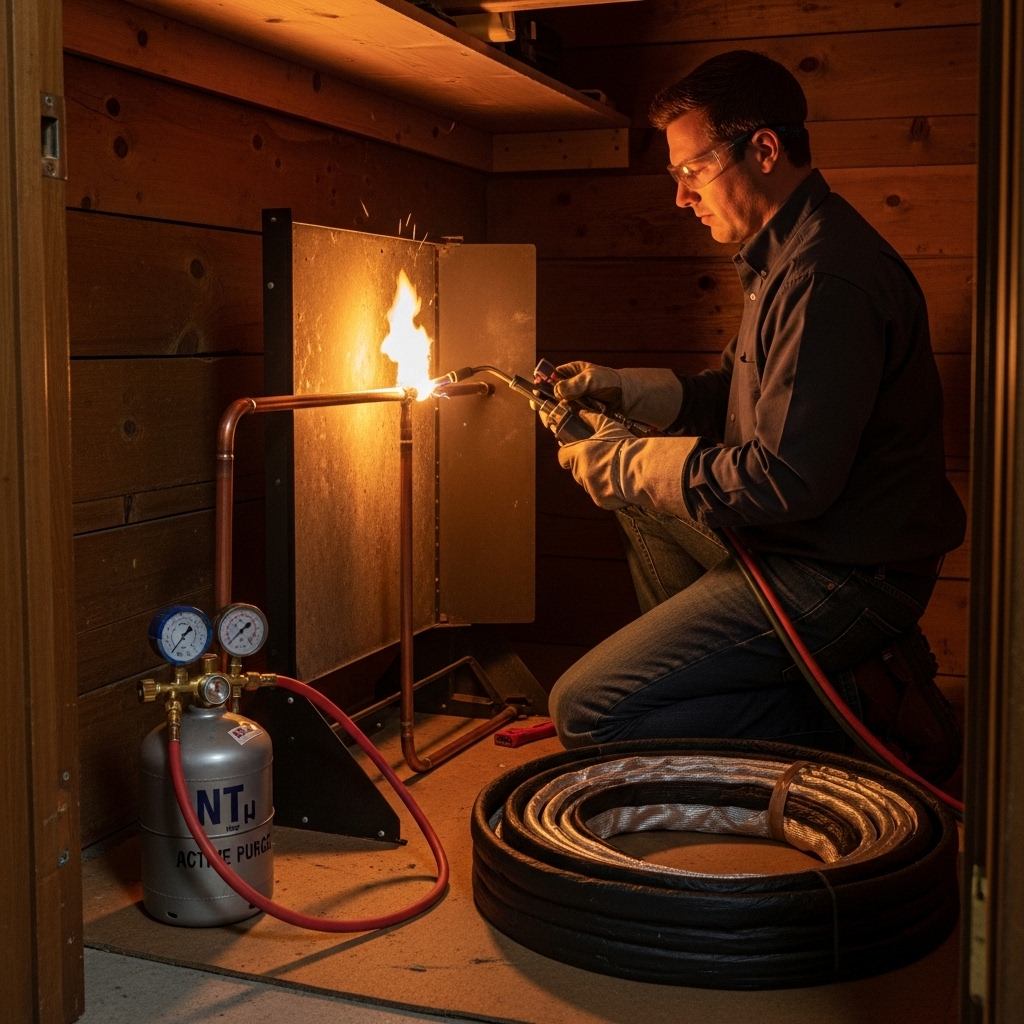
7. Indoor Coil Installation
Mount the evaporator coil with attention to airflow direction and drain orientation. Seal all cabinet penetrations to prevent air bypass. When brazing the line set, purge with nitrogen to avoid internal oxidation. Install a liquid-line filter drier and insulate the suction line fully. Provide a serviceable access panel and label components for easy identification later.
8. Ductwork Optimization
Evaluate existing ducts for size and integrity. Seal leaks, add insulation where ducts pass through attics or crawl spaces, and correct restrictive transitions. Verify that return air pathways are adequate for closed-room operation. After installation, measure total external static pressure and adjust blower speed or duct components to hit your target CFM.
9. Condensate Strategy
Provide a primary drain with continuous slope, and install a secondary drain pan or float switch to protect finishes. If gravity drainage is not available, use a rated condensate pump with proper check valves and maintenance access. Test the drain by pouring water through the system before commissioning.
10. Electrical and Controls
Run properly sized conductors, install breakers per nameplate requirements, and verify grounding and bonding. Label all control wiring and confirm thermostat compatibility with your selected equipment. Midway through the process, it is wise to revisit professional recommendations on air conditioning installation to validate staging logic, dehumidification control, and sensor placement for Illinois humidity.
11. Pressure Testing and Evacuation
Pressure test with dry nitrogen to verify leak-free joints. Pull a deep vacuum measured with a micron gauge and hold to confirm system tightness. Only then should you open service valves and weigh in the manufacturer-specified charge, adjusting for line set length as directed.
12. Charging and Commissioning
With the system running, measure superheat and subcooling to confirm the charge. Record temperature split, compressor amperage, and blower RPM. Compare static pressure to blower tables to verify airflow. Program the thermostat for staged cooling, set humidity targets if supported, and document all readings for the homeowner and future service.
13. Homeowner Orientation
Provide a walkthrough of system operation: filter changes, thermostat programming, drain safety devices, and signs that indicate service is needed. Leave manuals, AHRI match sheets, and warranty registration instructions. Encourage consistent setpoints to maintain comfort and humidity without excessive cycling.
Seasonal Maintenance Expectations
Plan for annual coil cleaning, filter replacements, drain checks, and electrical inspections. Illinois summers can load outdoor coils with cottonwood fluff and dust; cleaning ensures efficient heat transfer. Verify charge and electrical components in spring so you are ready for early heat waves, and perform a quick check at the end of the season to catch developing issues.
Common Issues and Remedies
- High Static Pressure: Enlarge returns, add supply runs, and choose low-resistance filters.
- Poor Humidity Control: Increase run time with staged equipment or blower settings; ensure the charge and airflow are correct.
- Hot or Cold Spots: Balance dampers, fix duct restrictions, or consider zoning if the layout demands it.
- Noise and Vibration: Add isolators, secure line sets with cushioned clamps, and verify blower mounting.
FAQ
Q: How long does the process take? A: Simple replacements can be completed in a day; more complex projects with duct modifications or electrical upgrades require additional time.
Q: Do I need to replace my line set? A: It depends on size, condition, and accessibility. Replacement is often preferred; if reused, it must be properly cleaned and meet manufacturer specifications.
Q: What thermostat should I choose? A: Use a model compatible with your equipment stages and dehumidification features, and program it to match your comfort goals.
Q: Will my utility bills drop with a new system? A: Efficiency gains are likely with a properly sized and commissioned system, especially when paired with duct sealing and improved insulation.
Q: Who handles refrigerant and charging? A: Certified technicians manage refrigerant recovery, charging, and verification to meet regulations and protect equipment.
Take the Next Step
Following a structured process helps ensure your installation meets Illinois codes and delivers steady comfort through humid summers. If you want expert assistance or a turnkey experience, connect with a reputable local provider. When you are ready to move forward, explore resources and schedule an evaluation focused on quality air conditioning installation for your home.


