Introduction
If you are new to the world of home cooling, the installation process can seem complex. This beginner-friendly guide explains each stage of an Illinois-focused project so you know what to expect and how to prepare. You will learn the basics of system sizing, equipment choices, ductwork, electrical requirements, and commissioning, along with regional tips for humidity control. By the end, you will be able to discuss your air conditioning installation confidently, evaluate proposals, and recognize the hallmarks of high-quality work.
Because Illinois summers are humid and winters are cold, a well-installed system must manage moisture and airflow, not just temperature. The steps below outline how pros approach the job and the simple actions you can take to smooth the process.
Step 1: Understand Your Home’s Needs
Start by identifying comfort issues: rooms that are too warm, noise concerns, or humidity problems during summer. Share these with your contractor. A proper load calculation, not a guess, determines the cooling capacity. It accounts for home size, insulation, windows, and orientation to the sun. Ask for the results and a plain-language explanation.
Step 2: Choose the Right System
Entry-level systems cool the home, but staged or variable-capacity systems often provide better humidity control and quieter operation—important in muggy Illinois weather. Look for matched components: condenser, indoor coil, and blower. Ask about thermostat compatibility and features that support long, gentle cooling cycles that wring out more moisture.
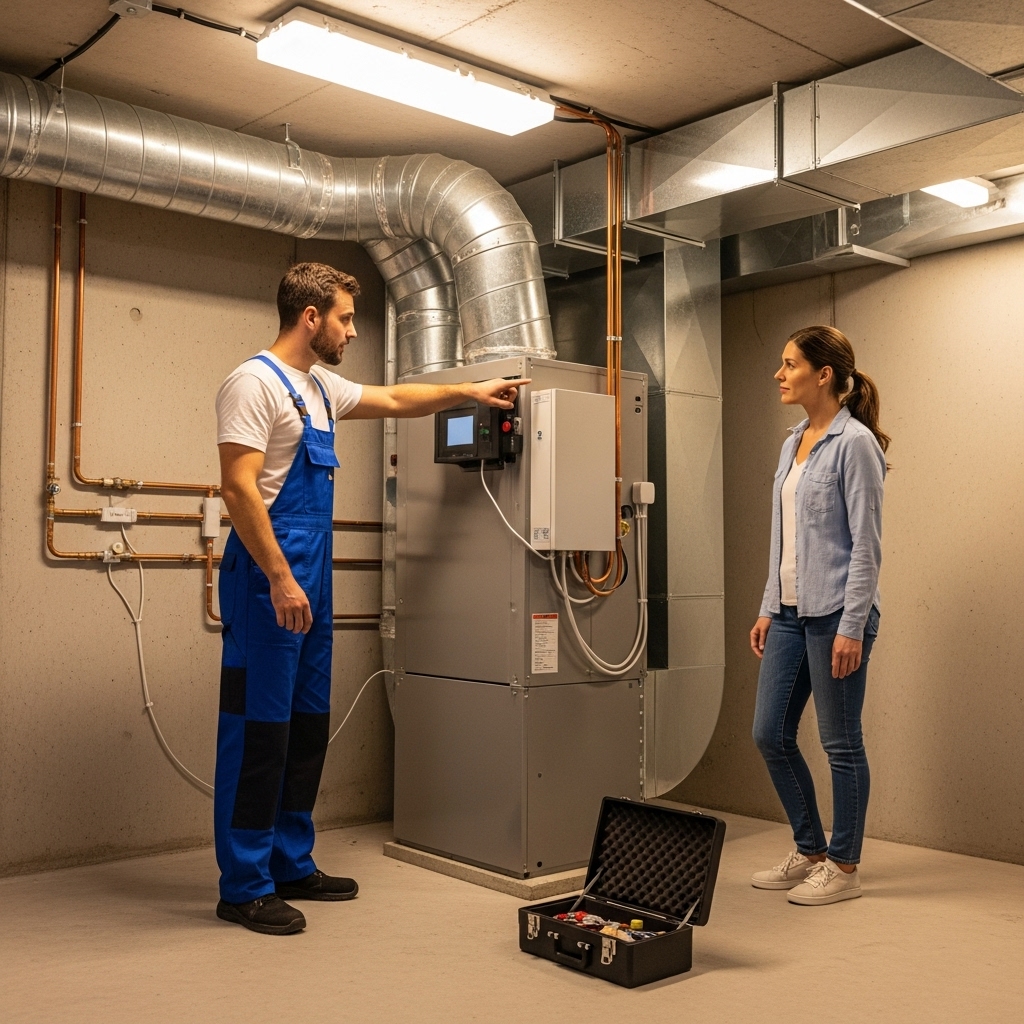
Step 3: Prepare the Site and Ducts
Clear workspaces indoors and out. The outdoor condenser needs a level pad and room for airflow. Inside, the air handler or furnace/coil connection should be sealed and insulated. Ducts may require sealing, insulation, or balancing to direct air to rooms that need it most. Professional sealing with mastic reduces leakage and boosts performance.
Step 4: Permits and Scheduling
Many Illinois municipalities require permits and inspections. Your contractor typically handles paperwork and timing, but you should know when inspectors will visit and what they will look for. Scheduling around hot weather and your household’s routine helps minimize disruptions.
Step 5: Installation Day Basics
- Protect floors and furnishings in the work area.
- Safely remove old equipment and recover refrigerant per regulations.
- Set the new outdoor unit level and verify clearances.
- Install the indoor coil and ensure airtight, insulated transitions.
- Run refrigerant lines, braze with nitrogen purge, and pressure-test with nitrogen.
- Pull a deep vacuum verified by a micron gauge to remove moisture and air.
- Connect electrical power, thermostat wiring, and safety controls.
- Install and test the condensate drain and overflow safety switch.
- Charge the system accurately and verify airflow before final tuning.
As a beginner, it helps to pause in the middle of the project and review progress with your installer. Confirm that duct sealing is complete, that the line set is protected in covers, and that the team plans to record commissioning data. If anything seems unclear in your air conditioning installation, ask for a quick walkthrough so there are no surprises at startup.
Step 6: Commissioning and Walkthrough
Commissioning verifies performance. The technician measures supply and return temperatures, static pressure, blower speed, and refrigerant levels. They also configure thermostat staging and dehumidification. You should receive a quick tutorial on filter changes, thermostat programming, and where to find disconnects and breakers.
Illinois-Specific Tips
- Prioritize humidity control with proper airflow and staging to prevent sticky indoor conditions.
- Keep vegetation trimmed around the condenser and avoid roof runoff that can damage components.
- Consider a heat pump option if you want mild-weather heating and efficient spring/fall comfort.
- Schedule annual maintenance before peak summer heat.
Maintenance Essentials
Change filters regularly (often every one to three months), keep the outdoor unit free of debris, and schedule professional service once a year. Maintenance lowers the risk of breakdowns and keeps efficiency high. Record model numbers, warranty details, and the commissioning sheet for future reference.
Beginner Mistakes to Avoid
- Choosing equipment size without a load calculation.
- Skipping duct repairs that restrict airflow to key rooms.
- Overlooking condensate safety features that prevent water damage.
- Forgetting to confirm thermostat compatibility with the selected system.
FAQ
Q: How long does installation usually take? A: Many replacements take a single day; extra ductwork or inspections can extend the timeline.
Q: Do I need to be home all day? A: It is helpful for questions and the walkthrough, though some homeowners coordinate brief check-ins.
Q: What thermostat should I choose? A: Pick one compatible with your system’s staging and humidity features; your contractor can recommend models.
Q: Can I reuse existing ducts? A: Often yes, but sealing, insulation, and balancing may be needed for best performance.
Q: How soon should filters be replaced? A: Check monthly at first; replace as needed, commonly every one to three months.
Q: Will a larger AC cool faster? A: It might, but it will short-cycle and remove less humidity; right-size the system instead.
Move Forward with Confidence
With a clear understanding of each step, you can approach this project calmly and make informed choices that deliver quiet, even cooling during humid Illinois summers. When you are ready to plan and complete a professional air conditioning installation, work with a team that explains the process, documents performance, and stands behind their craftsmanship.


