Installing a tankless water heater is a complex task that requires expertise to ensure optimal performance and efficiency. Here’s a detailed, step-by-step guide to professional tankless water heater installation, highlighting the critical steps involved.
Initial Assessment and Planning
The first step in a professional tankless water heater installation is a thorough assessment of your home’s current water heating system and needs. Technicians evaluate factors such as the size of your household, hot water usage, and the existing plumbing and electrical infrastructure. This assessment helps determine the appropriate size and type of tankless water heater for your home. Planning is crucial to ensure the new system will meet your hot water demands efficiently.
Removing the Old Water Heater
Before installing the new tankless unit, the old water heater must be safely removed. Technicians first turn off the power supply and water source to the existing heater. They then drain the tank to remove any remaining water, which prevents spills and water damage. Once the tank is empty, the unit is disconnected from the plumbing and electrical systems and carefully removed. Proper disposal of the old water heater is also part of this process, ensuring environmental compliance.
Installing the Tankless Unit
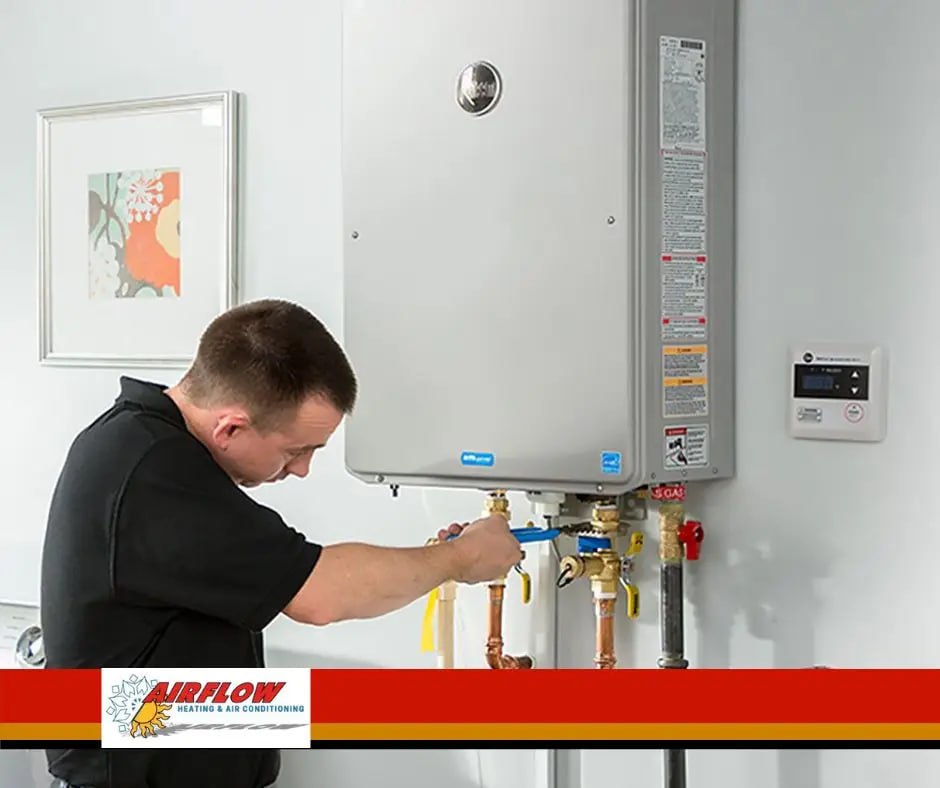
With the old unit removed, the next step is installing the new tankless water heater. This process involves several critical tasks:
-
Mounting the Unit: The tankless water heater is mounted on the wall in a location that meets manufacturer specifications and local building codes.
-
Connecting to Plumbing: Technicians connect the unit to the home’s water supply lines. Proper sealing and insulation of connections are essential to prevent leaks and ensure efficiency.
-
Electrical and Gas Connections: If the unit is electric, it is connected to the electrical system. For gas units, technicians connect the gas line, ensuring all connections are secure and comply with safety standards.
-
Ventilation: Proper ventilation is crucial for gas-powered tankless water heaters. Technicians install venting systems that meet safety regulations to expel exhaust gases outside the home.
Testing and Calibration
After the tankless water heater is installed, it must be thoroughly tested and calibrated. Technicians turn on the water and power supply, checking for leaks and ensuring all connections are secure. They then calibrate the unit to the manufacturer’s specifications, adjusting settings for optimal performance. This includes setting the temperature, testing the flow rate, and verifying that the system delivers consistent hot water. Proper calibration ensures the water heater operates efficiently and meets the household’s hot water needs.
Professional installation of a tankless water heater involves a comprehensive assessment, careful removal of the old unit, precise installation of the new system, and thorough testing and calibration. These steps are critical to ensure the system operates efficiently and reliably, providing your home with a continuous supply of hot water.
Read more:
Top Factors to Consider When Hiring Tankless Water Heater Installation Services
Why Choose Professional Services for Water Heater Installation?

