Comprehensive AC Repair Inspection Checklist for Skokie Homes
A structured inspection ensures that repair work solves the immediate problem and prevents the next one. Whether your system is short cycling, leaking, or struggling to cool during a humid Skokie afternoon, a methodical checklist helps technicians find root causes quickly. If you need professional assistance right away, arrange trusted air conditioning repair so a qualified expert can perform a full diagnostic and restore dependable comfort.
This inspection outline is designed for Skokie’s climate and housing mix, from brick ranches and two-flats to newer townhomes. It focuses on airflow, electrical integrity, refrigerant performance, and drainage—four pillars of reliable cooling that most repairs touch in some way.
1. Initial Interview and Safety Check
- Symptom timeline: When did the problem begin? Did storms or power fluctuations occur?
- Thermostat settings: Verify mode, setpoint, fan setting, and smart thermostat configuration.
- Sight, sound, smell: Note any burning odors, unusual noises, or water damage.
- Power and disconnects: Confirm breakers are set, service switches are on, and fuses are intact.
2. Airflow and Filtration
- Filter condition: Replace if dirty or collapsed. Verify correct size and MERV rating for the system.
- Return and supply paths: Ensure returns are clear and supply registers are open.
- Static pressure: Measure to assess duct restrictions or undersized returns.
- Blower wheel and motor: Inspect cleanliness, balance, and amperage draw.
3. Indoor Coil and Cabinet
- Evaporator coil: Check for icing, dirt, and fin damage that restrict heat transfer.
- Cabinet seals: Inspect for air leakage around panels and the coil door.
- Temperature split: Record return and supply temperatures to evaluate performance.
4. Condensate Management
- Drain line: Clear clogs, confirm slope, and treat for algae to prevent recurring blockages.
- Drain pan: Inspect for cracks, rust, and proper alignment under the coil.
- Float switch: Test operation to ensure it shuts the system down in a leak scenario.
5. Outdoor Unit and Coil
- Condenser coil: Clean debris and cottonwood fluff, straighten fins where practical.
- Fan and shroud: Verify fan operation, blade tightness, and unobstructed airflow.
- Clearance: Maintain at least 2 feet around the unit for ventilation.
6. Electrical Components
- Capacitors: Test microfarads against rated values for compressor and fan motors.
- Contactor: Inspect for pitting and alignment; confirm coil voltage and reliable engagement.
- Wiring: Look for heat damage, loose connections, and proper strain relief.
- Surge protection: Evaluate whether protection is installed and functioning.
7. Refrigerant Circuit
- Pressures: Measure suction and discharge pressures under stable conditions.
- Superheat and subcooling: Compare to manufacturer specifications to judge charge and metering device performance.
- Visual leak check: Inspect joints, service valves, and coil ends for oil residue.
- Line set condition: Verify insulation and look for kinks or rub-through points.
8. System Controls and Thermostat
- Thermostat calibration: Verify accurate temperature sensing and reasonable cycle settings.
- Low-voltage circuits: Check continuity through safety switches and control boards.
- Communication checks: For advanced systems, confirm correct dip switch or software settings.
9. Ductwork Evaluation
- Leak points: Identify disconnected joints, unsealed seams, and flexible duct compression.
- Balancing: Confirm dampers are open as designed and rooms receive adequate airflow.
- Returns: Assess whether return capacity matches the system’s requirement.
10. Performance Verification
- Run test: Observe operation through multiple cycles to confirm reliable starts and stops.
- Amperage: Compare motor draws to nameplate ratings.
- Temperature stability: Validate that target temperature is achieved without short cycling.
Skokie-Specific Considerations
High humidity periods magnify small airflow and drainage problems. Cottonwood season can quickly clog outdoor coils, while dense tree canopies drop debris that restricts ventilation. Additionally, many homes in the area have finished basements where condensate leaks can cause costly damage. A thorough inspection accounts for these risk factors and prioritizes preventive steps tailored to your home’s layout.
Documentation and Communication
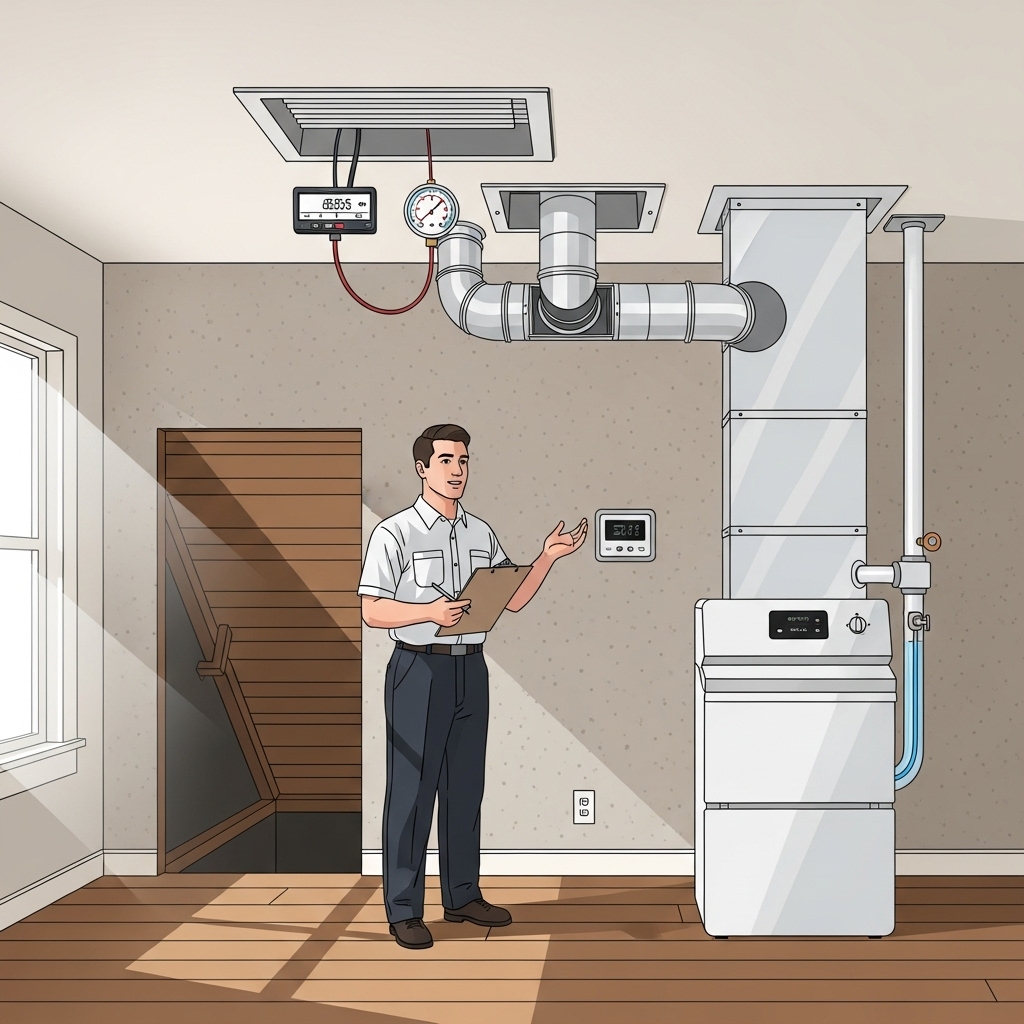
A professional technician will share test results and describe the repair path clearly. Expect readings for static pressure, temperature split, and refrigerant values. Photographs of replaced parts and a written summary help you understand what failed and why the solution will last. Transparent communication builds trust and helps you plan for maintenance that reduces future breakdowns.
Maintenance Actions Often Completed During Repair
- Filter replacement to restore airflow immediately.
- Coil cleaning to improve heat exchange and efficiency.
- Condensate treatment to prevent algae re-growth.
- Electrical tightening and contact cleaning for reliability.
- Thermostat recalibration to improve comfort control.
Upgrades That Pay Off in Reliability
- Surge protection to shield sensitive electronics and compressors.
- Enhanced filtration that balances indoor air quality with proper airflow.
- Dedicated dehumidification for homes with persistent moisture problems.
- Additional return air pathways to relieve static pressure.
After the Repair: What to Watch
Over the next few days, monitor how quickly the home cools, whether rooms feel more balanced, and if humidity settles into a comfortable range. Listen for smooth startups and consistent fan operation. If you notice recurring water in the condensate pan or temperature swings, schedule a follow-up visit so small problems do not escalate.
FAQs
Q: How long does a full inspection take? A: Most thorough inspections take one to two hours, longer if major cleaning is needed or if access is limited.
Q: Do I need to be home? A: It is helpful so the technician can discuss findings and demonstrate system operation, but arrangements can be made if access is available.
Q: Will every item on the checklist apply to my system? A: The core steps do. Certain advanced checks vary by brand and model, especially on variable-speed systems.
Q: Can duct issues be confirmed during the first visit? A: Many can. More complex airflow problems may require additional testing, but static pressure and room-by-room checks offer strong clues right away.
Q: How often should I have this inspection performed? A: Annually before cooling season is ideal, with quick mid-season checkups during heavy use.
Schedule a Thorough Inspection Today
If your system is underperforming or you want confidence before the next heat wave, book professional air conditioning repair. A detailed inspection will uncover root causes, deliver reliable fixes, and set your Skokie home up for cool, consistent comfort all summer.


