The Complete Air Conditioning Installation Process and Steps in Skokie
Understanding the end-to-end process behind professional cooling gives you confidence and clear expectations. Whether you are upgrading an existing system or installing new equipment, knowing the sequence, who handles permits, how long tasks take, and what quality checks occur helps you prepare your home and your schedule. Skokie, Illinois, presents a wide mix of home ages and layouts, so a structured plan is essential to achieve quiet operation, balanced airflow, and efficient performance. Use this guide as your roadmap, and if you want a succinct overview while you read, keep this explanation of air conditioning installation handy for terminology and milestone checklists.
Every installation is a collaboration between homeowner and installer. You bring goals for comfort, budget planning, and aesthetics; the installer brings code knowledge, equipment options, and commissioning skills. Together you can identify the most effective path to a system that performs now and remains serviceable for years. Below is a practical, step-by-step framework that mirrors professional workflows in Skokie.
Step 1: Initial Conversation and Site Visit
The process starts with a discussion about your home’s hot spots, noise concerns, schedule, and any renovation history. A site visit follows, during which a technician inspects existing equipment, ductwork, electrical service, and potential locations for indoor and outdoor units. They will also look at attic or crawlspace access and note any constraints that might affect routing.
Step 2: Load Calculation and System Design
Pros complete a load calculation to determine the right capacity. Inputs include square footage, insulation levels, window orientation, and air leakage. The goal is a system that runs steady and quiet, avoiding short cycling while maintaining humidity control. Based on the results, your installer proposes equipment options, duct modifications if warranted, filtration choices, and control strategies such as zoning or smart thermostats.
Step 3: Proposal Review and Scheduling
Once you select an approach, the team outlines the scope: equipment, accessories, permits, and estimated timeline. You will confirm scheduling windows and any building rules for working hours or access. Good planning at this stage prevents delays and sets expectations for communication during the project.
Step 4: Permits and Material Staging
In Skokie, permits are typically required for mechanical and electrical work. Your installer handles the applications, coordinates inspection windows, and prepares documentation. Materials are staged in advance to ensure a smooth start, with equipment delivered and verified for model and accessory compatibility.
Step 5: Homeowner Preparation
- Clear a path to the indoor unit and the electrical panel.
- Move vehicles to open driveway space for staging and tools.
- Secure pets in a safe area away from work zones.
- Identify fragile finishes or tight spaces that need extra care.
- Discuss thermostat location and any preferences for line set concealment.
Step 6: Removal of Old Equipment
If replacing an existing system, technicians disconnect power, recover refrigerant according to environmental standards, and remove the old condenser, air handler, or coil. They will cap or remove obsolete lines and prepare mounting surfaces for new equipment.
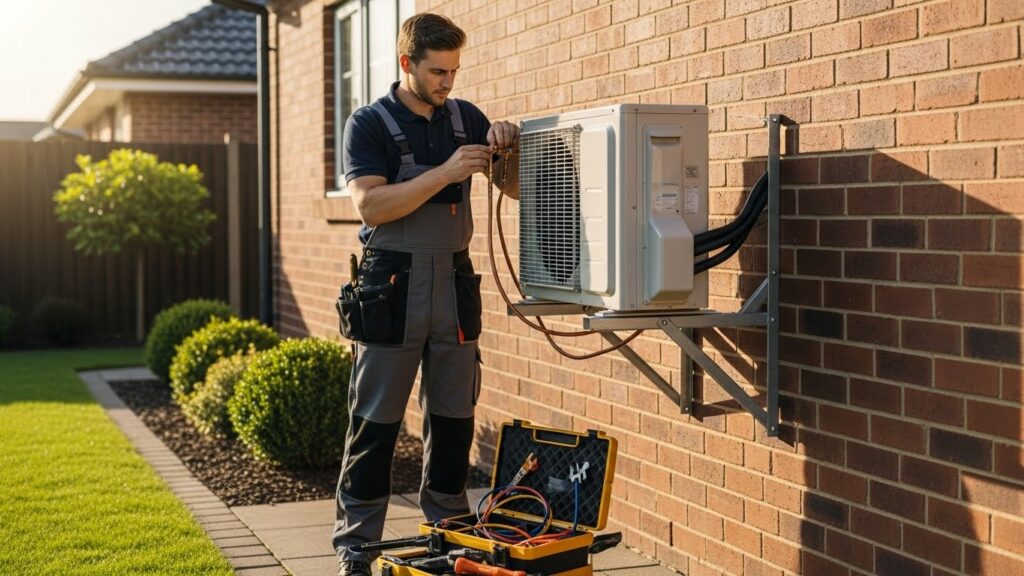
Step 7: Setting the Outdoor Unit
The condenser or heat pump is placed on a level pad with proper clearances for airflow and service. Vibration isolation pads are added as needed for quiet operation. The location accounts for noise sensitivity, property lines, and aesthetic considerations, especially in tightly spaced neighborhoods.
Step 8: Installing or Modifying the Indoor Components
Indoors, the air handler or coil is mounted securely, and duct transitions are fitted to maintain smooth airflow. If duct sealing or resizing is part of the plan, this work happens now. Return air improvements often deliver big comfort gains and are tackled during this step as well.
Step 9: Refrigerant Line Routing and Insulation
Technicians route and insulate line sets to protect efficiency and appearance. They use line set covers where appropriate, maintain serviceable turns, and seal wall penetrations. Proper insulation prevents condensation and heat gain, especially in attics or exterior runs exposed to sun.
Step 10: Electrical Connections and Safety Devices
Electricians or trained technicians install disconnects, run dedicated circuits, and verify grounding. Safety devices such as float switches in condensate pans or primary drain lines prevent water damage by turning off the system if a blockage occurs. These precautions are essential for long-term reliability.
Step 11: Condensate Management
Correct drainage is vital. Drains are sloped properly, and pumps are installed if gravity cannot carry condensate away. Technicians test for leaks and confirm that traps and cleanouts are accessible. Moisture control protects both equipment and finishes.
Step 12: Pressure Testing, Evacuation, and Charging
Before refrigerant is introduced, the system is pressure tested with dry nitrogen to confirm leak-free connections. Then the lines are evacuated to remove moisture and non-condensables. Refrigerant charging follows manufacturer specifications, using superheat or subcooling targets to dial in performance.
Step 13: Airflow Balancing and Control Setup
Airflow is measured at key registers, and static pressure is checked across the air handler. Technicians set fan speeds, adjust dampers, and program thermostat schedules. For zoning, they confirm damper operation and temperature readings in each zone.
Step 14: Commissioning and Final Checks
Commissioning verifies that the system meets design goals. Expect documentation of electrical readings, temperature splits, pressure values, and safety control tests. The installer will walk you through maintenance basics, filter replacements, and how to interpret sounds and normal operating cycles.
Step 15: Inspection Coordination
Your installer schedules municipal inspections and meets the inspector on-site. The review typically includes condenser placement, electrical disconnects, grounding, condensate routing, and general code compliance. Passing inspection closes the loop and provides a record for your files.
Step 16: The First Week of Operation
During the first week, note comfort levels at different times of day. Slight thermostat schedule tweaks and register adjustments can optimize performance. If anything seems unusual—hot spots, noises, or moisture near drains—contact your installer promptly for a check.
Mid-Process Tips and Checks
Around the midpoint of the project—often when equipment is set and lines are run—pause to confirm details like thermostat location, line set cover color, and access routes for future service. Transparent communication at this stage prevents rework and ensures your preferences are respected. For a concise reminder of best practices, you can revisit this guide to professional air conditioning installation and compare the listed steps with what you see on-site.
Quality, Safety, and Cleanliness Standards
Professional crews protect floors and walls, manage debris, and maintain a safe site with clear walkways. They label circuits, photograph key stages for records, and leave mechanical spaces tidy. These habits reflect a culture of quality that translates into fewer callbacks and longer-lasting comfort.
Maintenance and Long-Term Care
Keep filters on a regular replacement schedule and maintain clearance around the outdoor unit for unimpeded airflow. Seasonal tune-ups help catch early wear and confirm that refrigerant levels and electrical connections remain within specifications. Simple homeowner habits—like keeping supply and return registers unobstructed—support even temperatures and quiet operation.
Frequently Asked Questions
Q: How long does a typical installation take?
A: Many replacements are completed in one day, while projects with new ducts or multiple zones may require two or more. Your installer will provide a timeline based on scope and site conditions.
Q: Will I need to upgrade my electrical panel?
A: Not necessarily. Your installer will evaluate panel capacity and advise if dedicated circuits or upgrades are required. Many homes accommodate modern systems without panel changes.
Q: Can I keep parts of my old system?
A: Reusing components is rare because compatibility and warranty considerations favor matched equipment. Your installer will advise on what must be replaced for reliable performance.
Q: What if my attic or crawlspace is hard to access?
A: Pros plan access routes, use protective coverings, and may stage work to minimize time in tight spaces. They will also discuss any preparatory steps that help the job move smoothly.
Q: How does zoning work?
A: Zoning uses dampers and controls to direct cooling to specific areas, allowing independent temperature settings. It is especially helpful in homes with multiple levels or rooms with different sun exposure.
Plan Your Installation with Confidence
With a clear process, expert commissioning, and thoughtful homeowner prep, you can enjoy dependable cooling, quieter operation, and balanced comfort in every room. Take the time to review design options, confirm details at the midpoint, and schedule seasonal maintenance for long-term performance. When you are ready to move forward, speak with a local pro and map out a tailored air conditioning installation that fits your home and timeline.


